Simple and cost effective planner sticker storage
I said it would never happen.
That I would get to a point where I needed to upgrade my sticker storage.
I had enough stickers, I said. I didn’t need anymore.
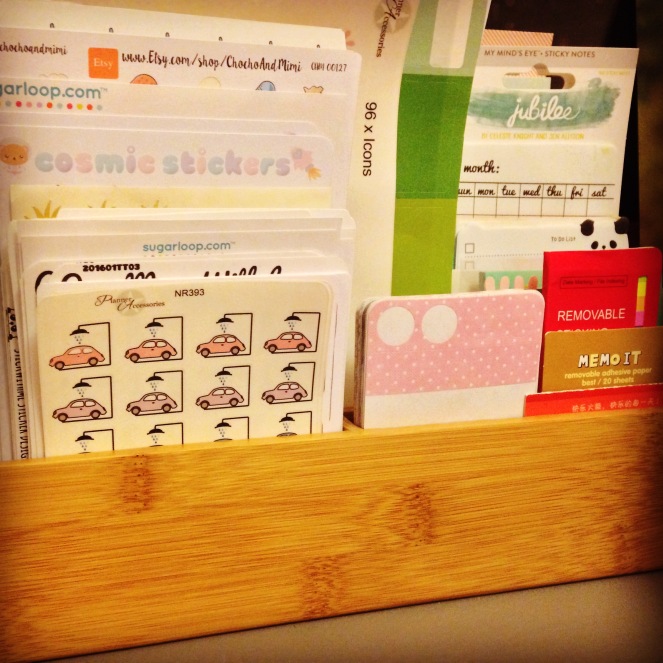
However, I ended up with stickers in around four different locations because the original solution wasn’t big enough. It was time to upgrade from my bamboo desk tidy.  I spent ages reading blog posts and scouring Pinterest but never really seemed to find a solution I liked the look of. I really didn’t want to go down the binder route as I knew that would be too much of a faff for me. I also knew it would wind up being either time consuming (sticking every sheet onto paper) or expensive (buying pockets for the binder).
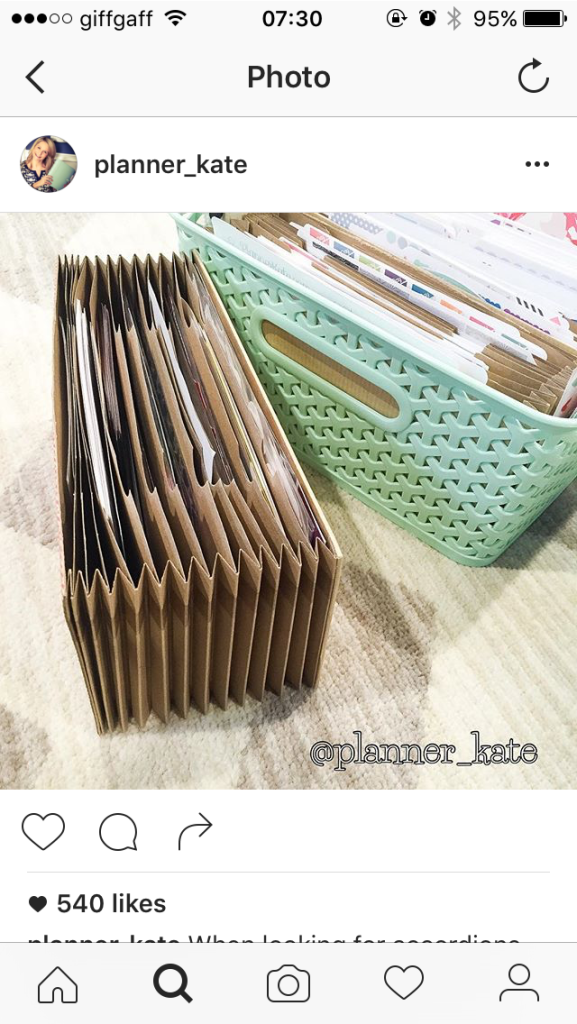
Thinking I’d never find a good solution, while scrolling Instagram one day I found something I liked the look of… A5 sized accordion files, perfect! Slotted into a box – even more perfect!
Could I find A5 sized files anywhere? Nope. A4 ones all over the place, or A5 plastic ones (which I knew I didn’t want) but nothing anything like the picture above. Damn. Foiled.
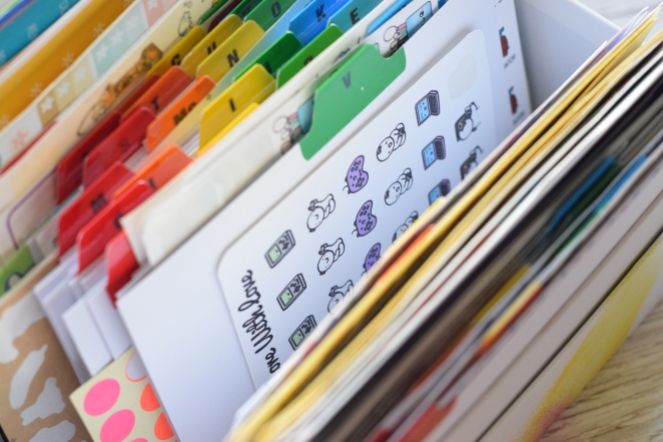
While looking for these mythical A5 files I stumbled across 6×4 sized A-Z index cards and knew they would be the alternative solution. I nipped off to the local Wilkos and bought three packs. Total cost: £5.25. I dug out one of the many boxes I have stashed from my subscription boxes and started to put my stickers in the box – with an index card in between each category.  There wasn’t any particular order to how I arranged the stickers – basically as I came to them, I created a category and gave them their own index card.
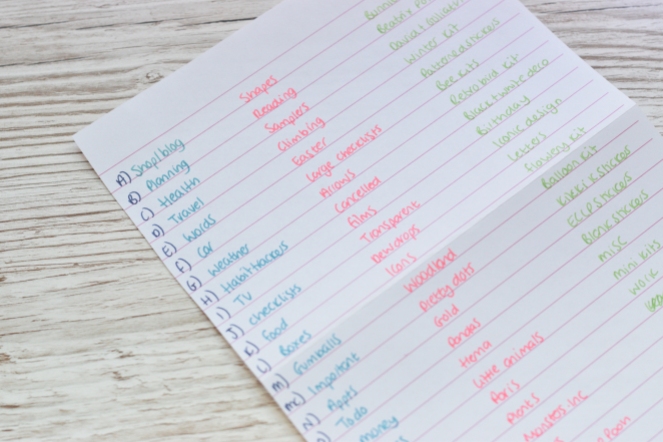
  You’ll notice I haven’t labelled the cards individually. Instead I made a note of what was going into each letter as it was going in and am using that as a key instead. It gives me greater flexibility to move things around and creating 75+ labels was not a time investment I was willing to make.
 As some of the sheets of stickers are bigger than the index cards having a key at the start means I locate where something is far quicker than trying to read what each tab says.
I’ve been using this set up for a few weeks and I’m really happy with it. I’ve put the lid of the box underneath for a bit of stability (those stickers can get heavy!) but other than that did absolutely nothing to it. This now just sits on my desk until I need to grab a sticker and that is so much easier now than having to sort through a mad pile every time I just want to use an ironing sticker, for example. For only a fiver it was also an absolute bargain, and didn’t take much time at all to put together. While it would be nice to have it in more defined sections you then don’t have enough room to expand a section without completely rearranging everything and I really want this to be a low maintenance thing. Speaking of expanding there’s still room in here for another set of index cards and stickers, so should my stash grow again I can accommodate it.
This won’t be the best solution for everyone as I know that my sticker collection pales in comparison to others but for those with a modest sticker stash this is ideal.
If you’ve got any variations or improvements to this set up please let me know in the comments below!
Em x
